I’m trying to set up a virtual machine in Hyper-V and need to use a serial port. I’m not sure how to get it working. Can someone guide me through the steps or provide some resources? Thanks!
Alright, setting up a serial port in Hyper-V can be a bit of a head-scratcher, but I’ll walk you through it. First off, Hyper-V doesn’t directly support serial ports out of the box, so you’ll need to use a workaround. Here’s a step-by-step guide:
-
Install the VMs and OS: Make sure your virtual machines and operating systems are installed and running smoothly.
-
Loopback Adapter Setup: Set up a loopback adapter on the Hyper-V host machine. This acts as a virtual network.
-
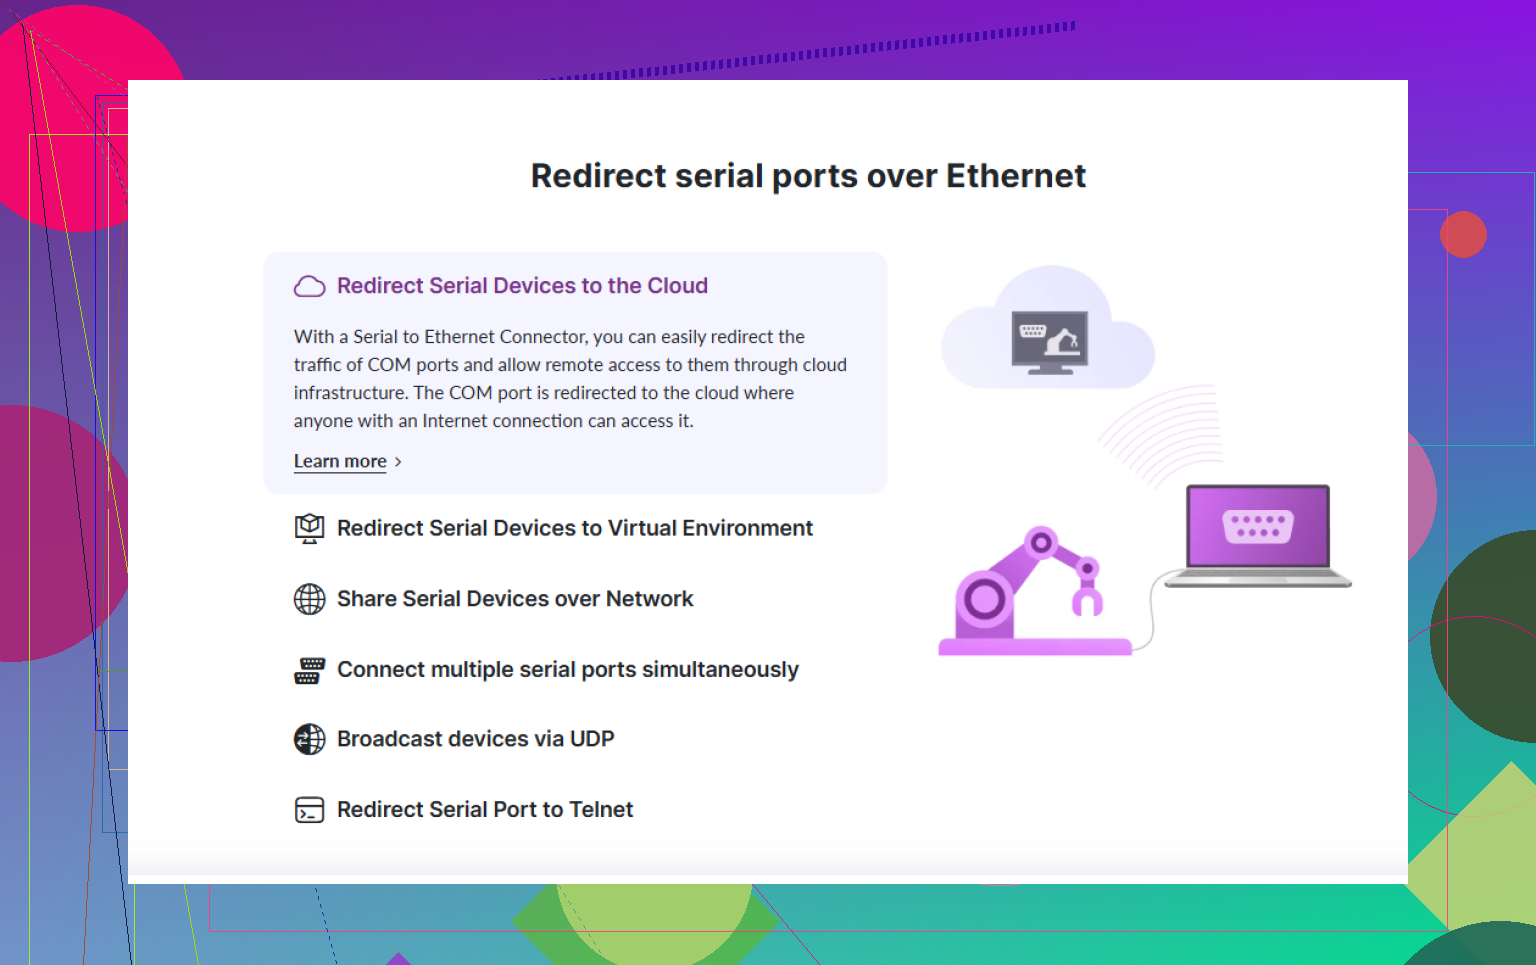
COM Port Mapping: Use software like ‘Serial to Ethernet Connector’ for mapping the physical serial port to the virtual COM port. This software creates virtual COM ports accessible by the VM.
-
Configure TCP/IP: Configure the TCP/IP settings of your loopback network in both the host and VM so they can communicate.
-
Software Setup on VM: Install the same ‘Serial to Ethernet Connector’ software on your VM to connect to the host’s serial port over the network.
For more detailed instructions, check out this video: Setting Up Serial Ports in Hyper-V.
Ideally, your VM will now be able to use the serial port as if it were physically connected.
Tip: Ensure the virtual network settings are properly configured to prevent the ‘NETWORK CABLE UNPLUGGED’ issue.
While this might seem like a bit of a hassle, it’s the best way to do it without native support in Hyper-V. Be patient with it—it’s totally worth it once you get it working!
Hey there! I see you’ve already got some detailed advice from @stellacadente, but let me throw in an alternative take on how you could tackle this issue.
Alright, so maybe Hyper-V doesn’t support serial ports natively, but you can still get it going smoothly with some different steps. Instead of using the software method mentioned, have you considered using named pipes?
Here’s a quick guide on how to go about it:
-
Create a Named Pipe: On your Hyper-V host machine, set up a named pipe for the serial port.
-
Configure the VM: Go into the VM settings, find ‘Add Hardware’, then select ‘COM port’. In the COM port configuration, specify the named pipe you just created.
-
Link the Named Pipe: Configure the VM’s serial redirection to point to the named pipe you’ve named.
-
Test Communication: Inside the VM, set up a terminal program like PuTTY to use the COM port that’s connected to your named pipe.
This method avoids the need for third-party software like ‘Serial to Ethernet Connector’. However, if you still prefer using the mentioned software for its flexibility in mapping physical serial ports, then by all means, go for it. The tool can streamline many settings and make connecting multiple serial ports easier.
Testing communication is vital, and ensure that your named pipe is correctly set up on the host machine. Miss that step, and you might find yourself scratching your head about why nothing’s working!
For those who want to further explore the capabilities of the app, you can check out the Serial to Ethernet Connector app. It can map physical or virtual serial ports to a network and make them accessible from your VM, which can help if you’re handling multiple serial devices.
Hope this gives you a broader set of options to work with!
Hey, if Hyper-V’s lack of direct serial port support has you puzzled, let me suggest a different route. While @chasseurdetoiles and @stellacadente gave solid workarounds, another approach might be helpful.
USB to Serial Adapter
Pros:
- Plug-and-play: It’s straightforward to set up. Just connect a USB-to-Serial adapter to your Hyper-V host and map it to your VM.
- Software Options: You can combine this method with tools like ‘Serial to Ethernet Connector’ to map the virtual serial ports.
Cons:
- Hardware Limitation: Requires physical access to the host machine for the adapter.
- Might need drivers: Ensure compatibility with your host and guest OS.
Steps:
- Get a USB-to-Serial Adapter: Buy a good-quality USB-to-Serial adapter.
- Connect & Install: Plug it into the Hyper-V host and install necessary drivers.
- Map USB to VM: Use Hyper-V’s Enhanced Session Mode to map USB devices to your VM.
Why this approach?
- Ease of Use: No virtual networking configuration required.
- Less Software Dependency: Besides a simple tool like Serial to Ethernet Connector, you don’t need extensive third-party software.
However, it’s always good to weigh these methods against other solutions like named pipes or the loopback setup recommended by @stellacadente and @chasseurdetoiles. Named pipes, for instance, are great for software-only environments but may require more initial configuration.
Serial to Ethernet Connector:
Consider pros and cons:
Pros:
- Flexible Mapping: Map multiple serial ports easily.
- Cross Network: Use serial devices over the network smoothly.
Cons:
- Costs: Paid software, though reasonable.
- Setup Time: Initial configuration can be time-consuming.
Remember, using a USB-to-Serial adapter gives you a physical connection option versus a more software-dependent approach. Depending on your familiarity and setup, either can work well.
Hope this adds another potential solution to your Hyper-V serial port dilemma!